Now that the World Cup is upon us, we’ve been forced to remind each other that we should pull ourselves away from the TV for long enough to enjoy a little bit of the Seattle sun as it starts emerging from a long winter of hibernation. And what better way to enjoy summer (while still embracing the international spirit) than by making Profiteroles; light, puffy pastry balls filled with ice cream.
We were inspired, once again, by the Michael Ruhlman book Ratio, which provided us with the basic steps necessary to make the dough known as pate a choux (pronounced “pat a shoe”). Once we’d made the shells (as described below), we tried our hands at another batch of homemade ice cream; this time, a delicious chocolate orange, reminiscent of those Terry’s chocolate oranges (recipe not included here, but maybe we’ll do a dedicated ice cream post later in the summer). Although neither of us are big chocolate ice cream fans, we found that the orangeiness perked the flavor right up, and it proved to be the perfect filling for our profiteroles.
PATE A CHOUX (for use in profiteroles, cream puffs, éclairs, gougeres, or even gnocci).
Ingredients
- 1 Stick Butter
- 1 Cup Water
- 1 Cup Flour
- 4 Large Eggs
- Put the butter and water into a saucepan over medium heat and wait until the butter melts completely.
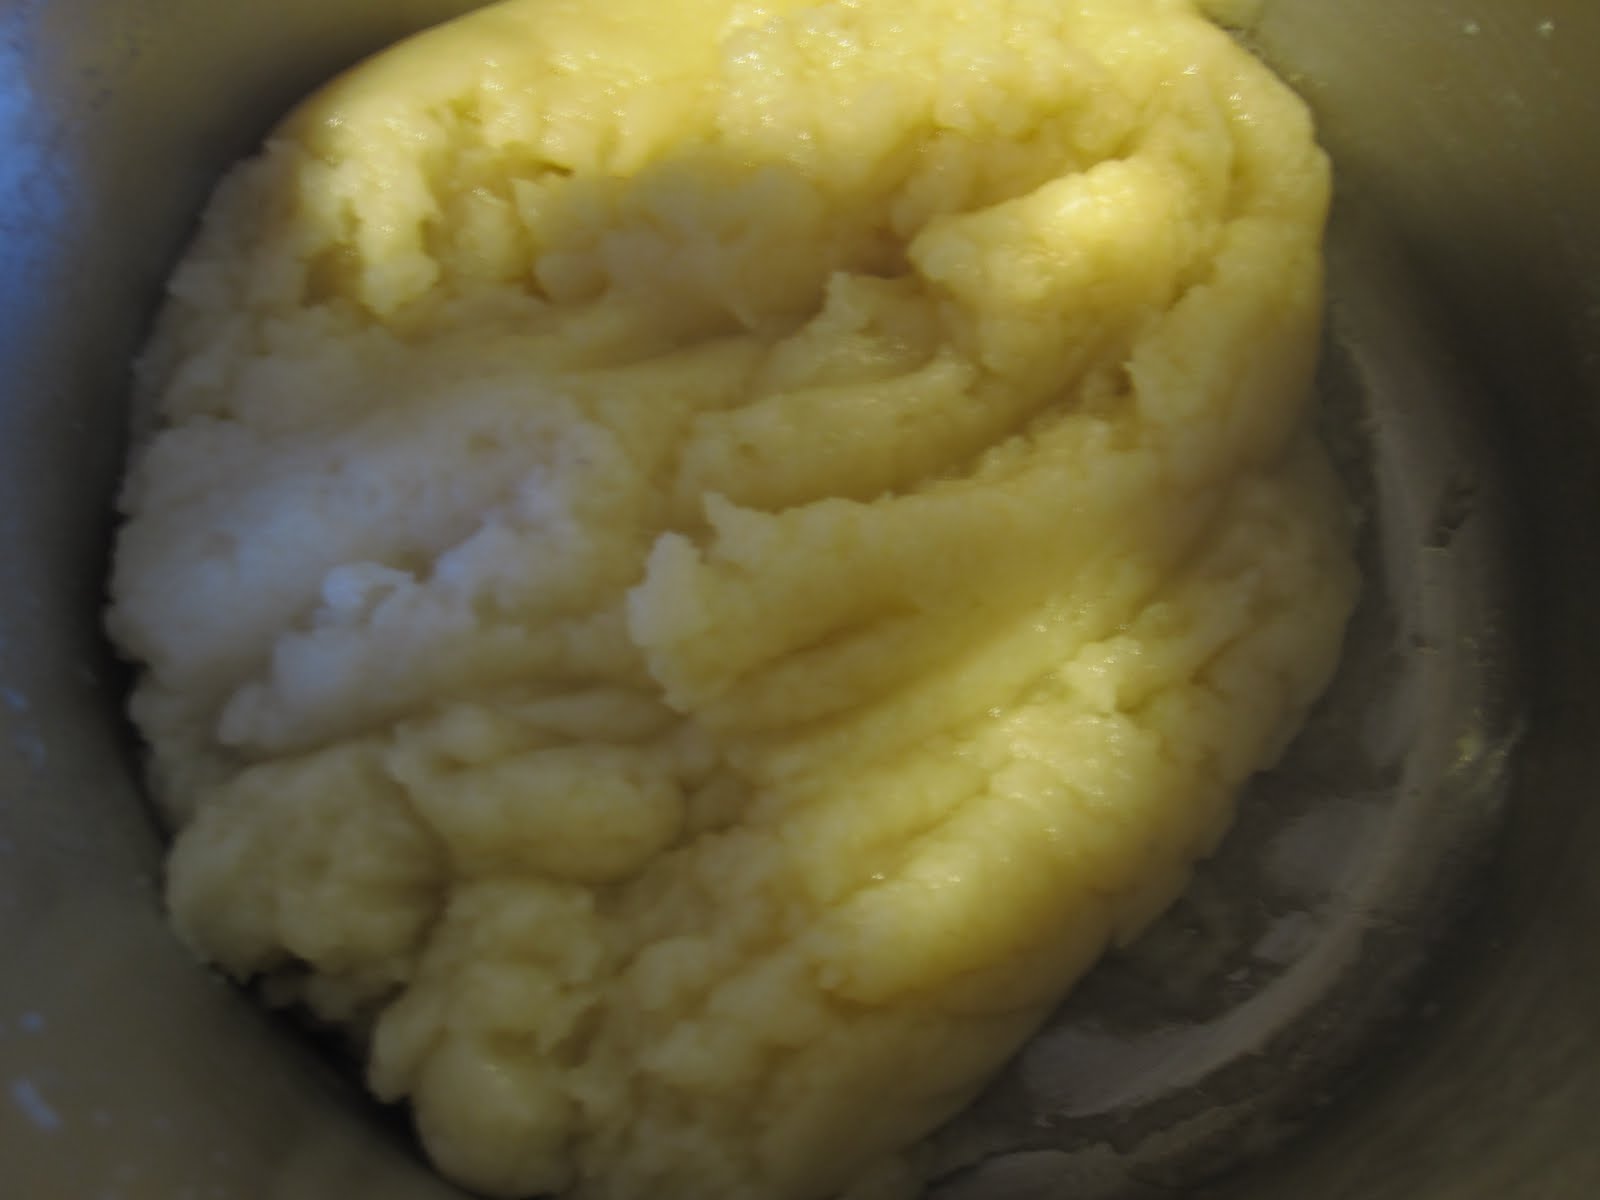
- Slowly pour in the flour, mixing with a wooden spoon until it absorbs all of the water.
- Continue to stir for 1-2 minutes, or until the mixture starts pulling off the sides of the pan.
- Let the mix cool down for a minute or two (but not much longer than that), then dump into a KitchenAid mixer with the paddle attachment (this can also be done by hand).
- Turn the mixer onto low, and add the first egg, waiting for it to become fully incorporated. When you first add the egg, the entire mixture becomes shiny and slippery, but after a minute or so, becomes more flat and rough. It's at this flat and rough stage that you know that the egg has been incorporated.
- Add the remaining three eggs, waiting between each for the previous egg to become incorporated.
- Heat an oven to 425, then pipe the mixture onto a non-stick baking sheet (or use parchment paper).
- Bake the puffs for 10-15 minutes (until they start to look a little brown), then lower the oven to 350 and cook for another 20 minutes (or so). The first shot below is at 10 minutes, the next is at 15 (when I turned the oven down), and the final is at 30.
- Once you think they're done, pull one out and try it. If it still tastes a little eggy, leave them in for a bit longer.
- Pull them from the oven and put them onto a cooling rack.


Wondered why we hadn't heard in awhile. You made up for the lag with tastily! I'd always assumed whipped cream was the way to go, but your ice cream idea sounded delicious and they're so pretty! Thanks for blogging them.
ReplyDelete